


When it comes to content, there are many areas to focus on as far the readers are concerned. From making sure it is unique, provides valuable insights, covers a variety of topics, and so on. However, for site administrators, the presentation of content to visitors and proper categorization within the dashboard is paramount for effective management.
Out of the box, WordPress provides various default post types to categorize and publish your content. The default ones are useful, but once your content categories start to span across different categories, you will be hit with certain limitations, such as all the published content and taxonomies getting grouped in one place, and so on.
This is where custom post types or CPTs in WordPress are beneficial. This helps you to create new content types outside of the default ones with improved functionality and also allows you to categorize them much better.
Also read: Complete Guide to Find & Fix Broken Links in WordPress
We will explore the benefits of WordPress custom post types and how to create one.
The Default Post Types in WordPress
A fresh WordPress installation by default provides several post types, which are how various content types are grouped in WordPress. We will quickly go over them all.
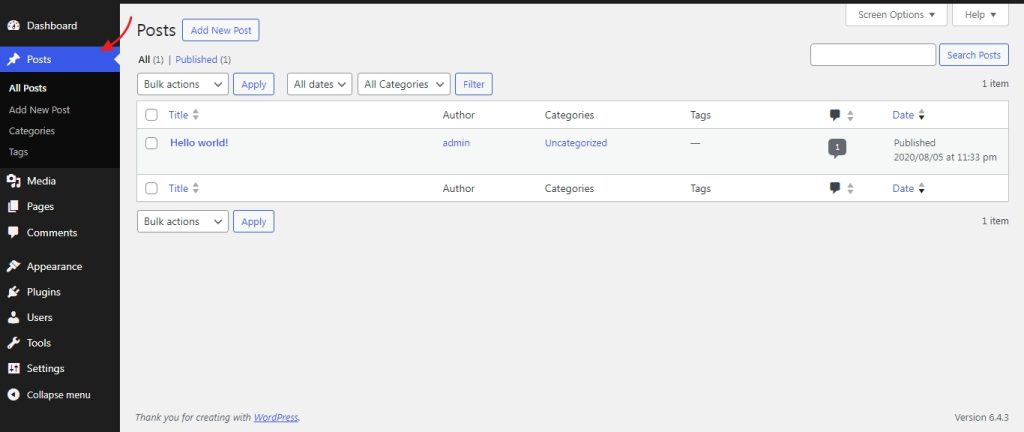
- Posts
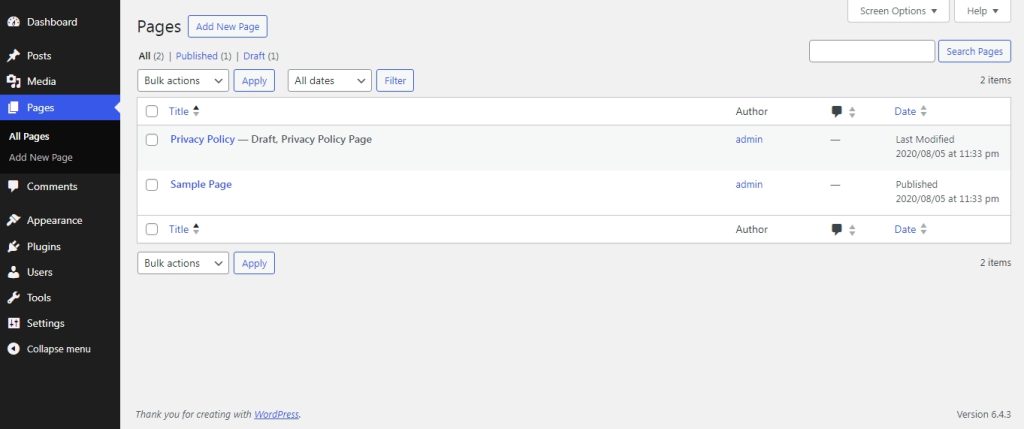
- Pages
- Attachments
- Revisions
- Navigation Menus
- Custom CSS
- Changesets
Now Posts are where all your new blog posts and other published articles are arranged. All the articles you will publish will be visible within the post’s tab in the dashboard.
Pages, on the other hand, are more suited for your home page and other pages that display static content. They are static compared to Posts as they don’t need to be updated often unless you frequently revamp your website.
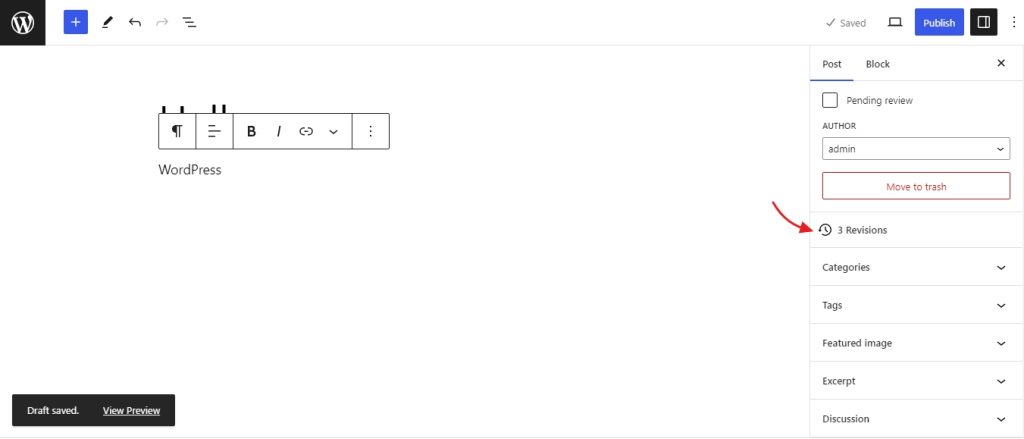
The Attachments as the name suggests are concerned with all the media that users upload. Each time we make changes to a draft or to a live page or a post, the Revisions stores all these changes in case we need to roll back to the previous one.
The Navigation menus allow the users to interact with the website and access more information.
The Custom CSS post type is concerned with saving theme style changes made through the customizer. Finally, the Changesets keep track of all the changes made from the customizer tab.
What is a Custom Post Type in WordPress and How is it Beneficial
Now the default post types do help you publish content belonging to any category, but there’s a catch. By opting to go with the default post types, you are grouping all the various content categories.
This can be explained better with an example. Let’s take a scenario where a user publishes a host of content on their sites, such as:
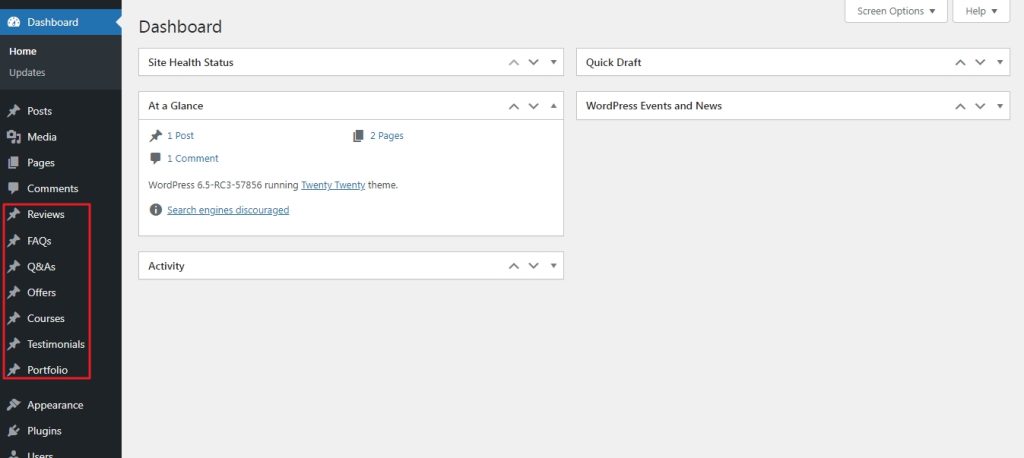
- Reviews
- FAQs
- Q&As
- Offers
- Courses
- Portfolio
- Testimonials
- Blogs
- Products
With the default post types, the various published content belonging to the above-mentioned categories will be grouped together. Along with this imagine the various taxonomies you have to create. What this will result in is a chaotic way to manage your published content.
This is where CPTs are beneficial. Basically, a WordPress custom post type is a way to classify the different types of published content. When we create a CPT we add a new menu to the dashboard that helps to properly manage the various content categories.
This is a much-organized approach when it comes to dealing with content across various categories, rather than populating all of them in one place. Along with custom post types, we can also create custom taxonomies for each content category and custom fields.
Also read: How To Provide Temporary Admin Access to Your WordPress Site for Support
How to Create a Custom Post Type in WordPress
There are two ways to create custom CPTs in WordPress: using plugins or manually. We will start by explaining how to achieve this with a plugin and then move on to the manual method.
Creating custom post type with a plugin
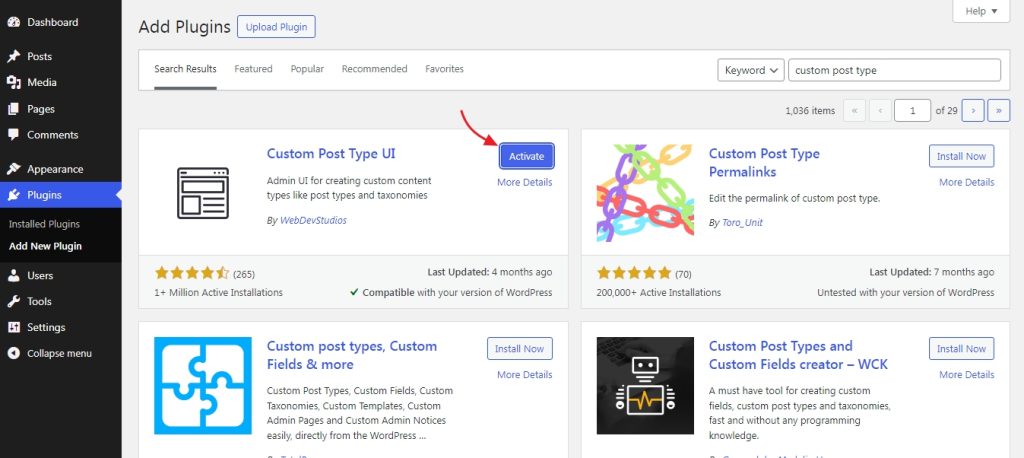
There are numerous plugins available in the repository such as Custom Post Type UI, Easy Post Types and Fields, Pods – Custom Content Types and Fields, and more. For this guide, we have opted for the Custom Post Type UI.
Install and activate the plugin.
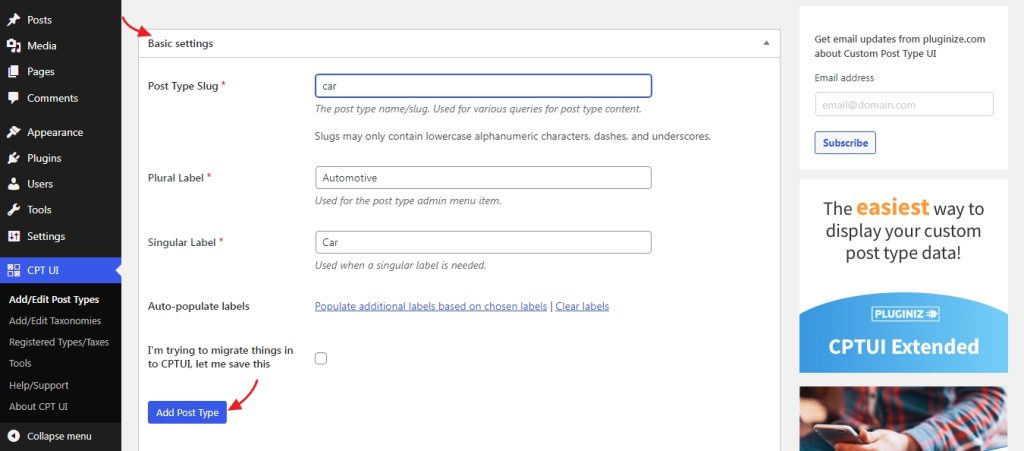
Once the plugin has been activated, add a new post type by filling in the various fields in the basic settings menu and click on add post type.
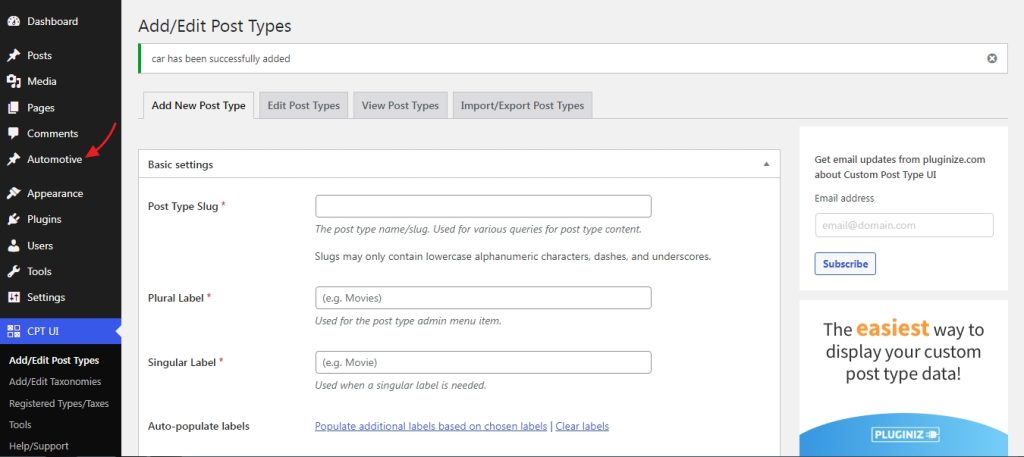
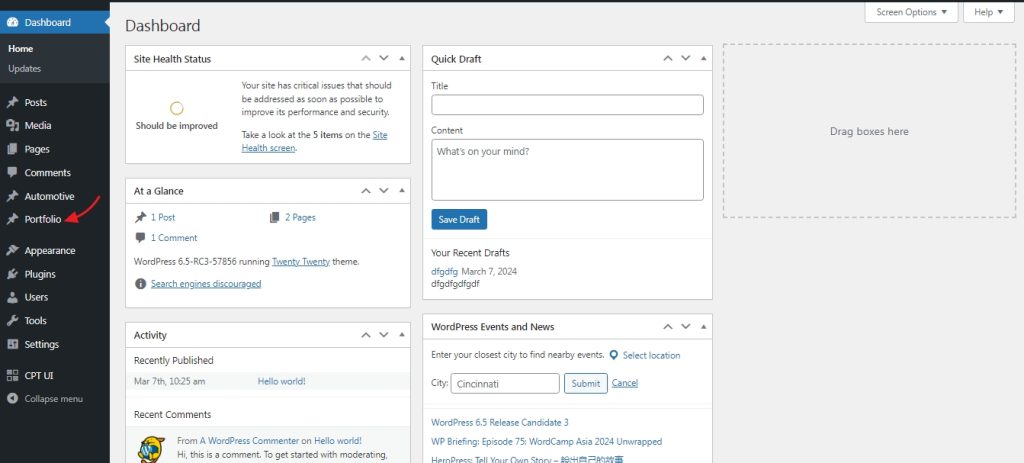
Once this is done, a new custom post type in WordPress has been added. This can be confirmed by taking a look at the left-hand side menu, where you can see the new post type appear.
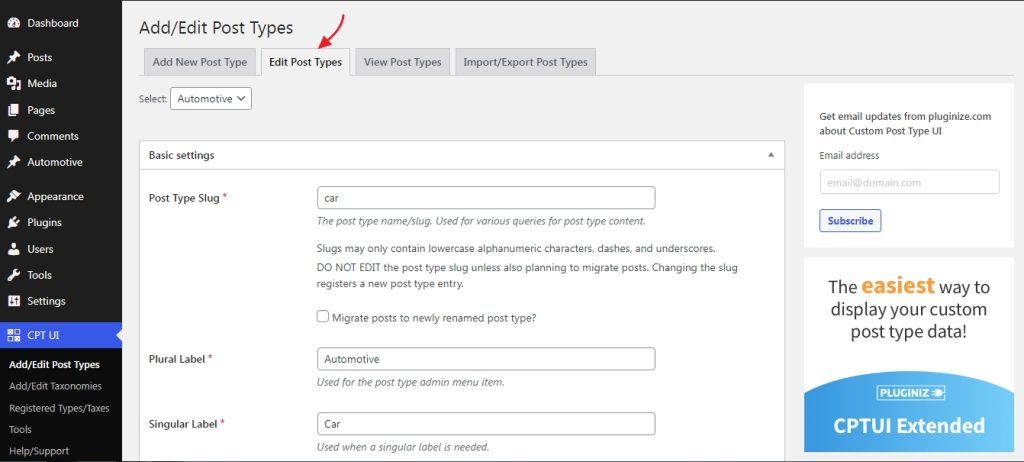
Now once you have created a custom CPT via the plugin, new options will appear next to the “Add New Post Type” tab in the plugin. The one we will focus on is the “ Edit Post Type” tab.
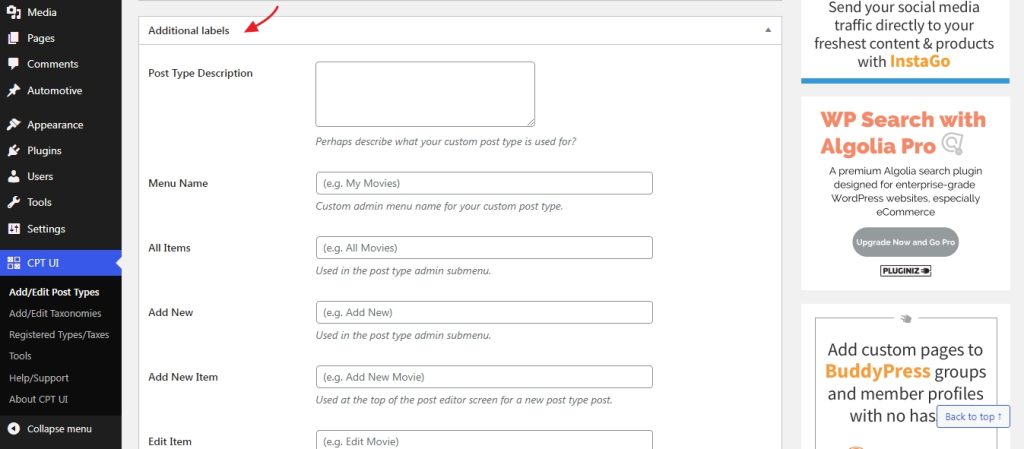
The “Additional labels” tab in this section allows the users to modify the custom post type according to their liking. There are various fields that one can make use of as per the need.
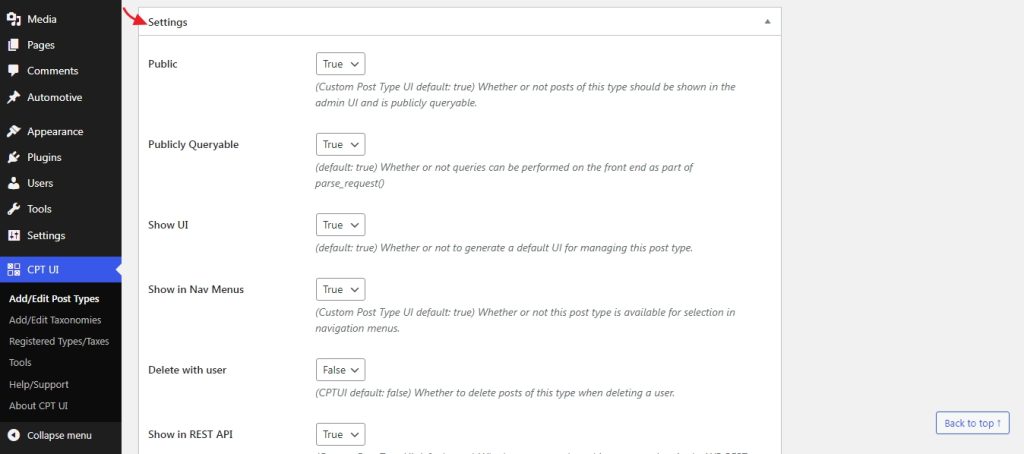
Then there is the “Settings” section that further allows you to customize the post type settings.
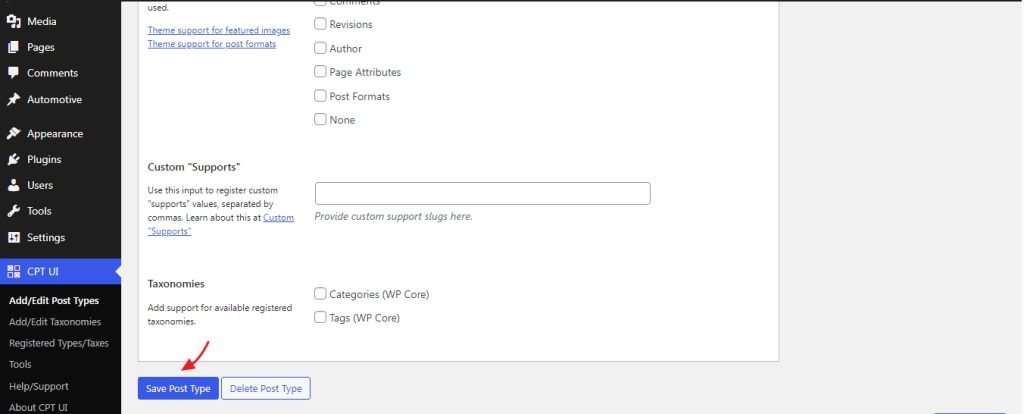
Once all the changes are made, select “Save Post Type” at the bottom and you are done.
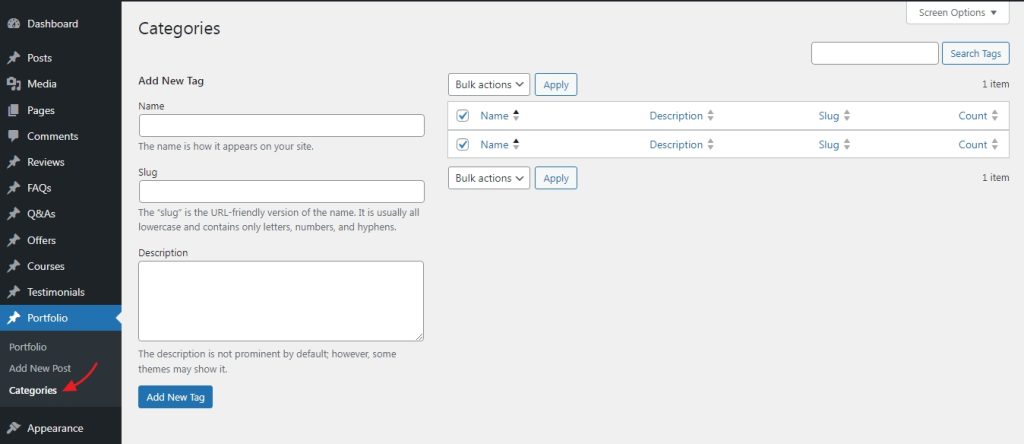
One more benefit of creating custom post types in WordPress is the ability to create custom taxonomies for the new content categories. With the plugin, you can do this by accessing the “Add/Edit taxonomies” option.
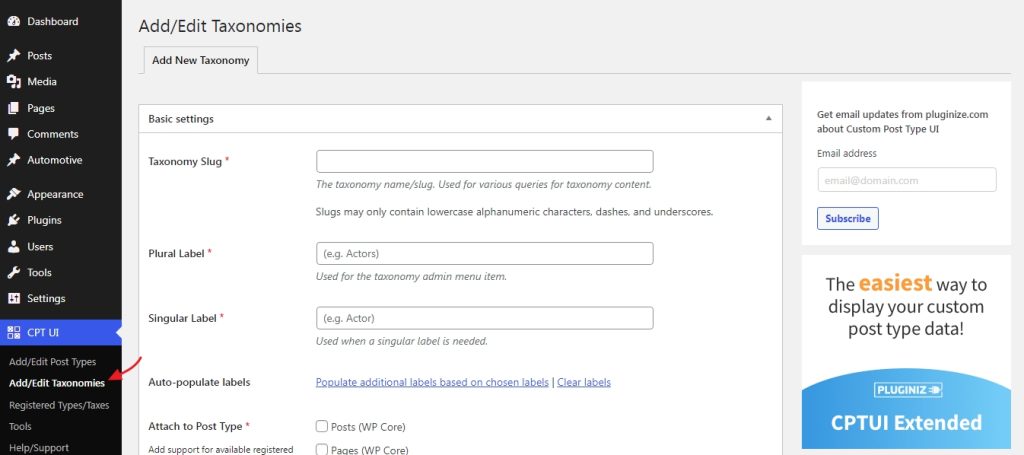
The process is similar to creating a new post type. We start by adding a name for the new taxonomy and filling in the required fields. The most important thing to note here is that you need to select the right post type for the taxonomy you are about to create.
If you wish you could add it to the default post type, but that is not what we want. Therefore we need to select the custom one and for us, it will be “Automotive”. Once this is done, click on “Add Taxonomy”.
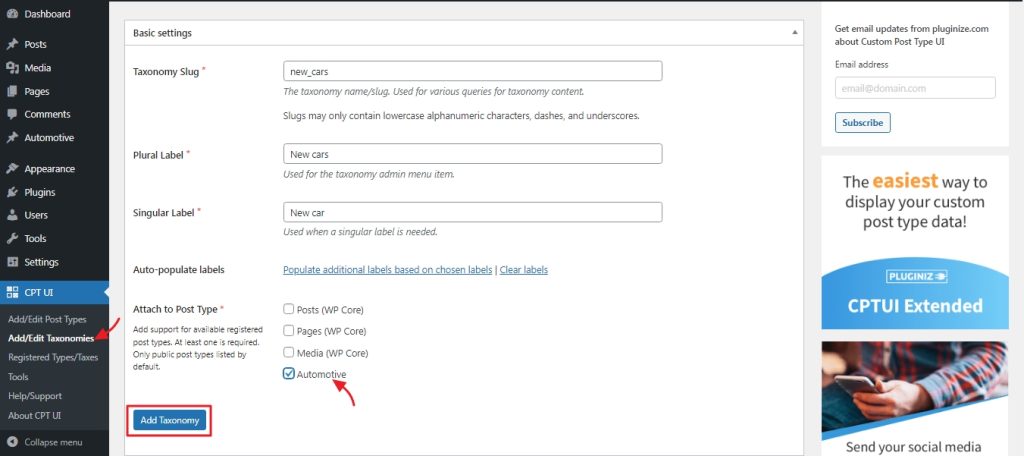
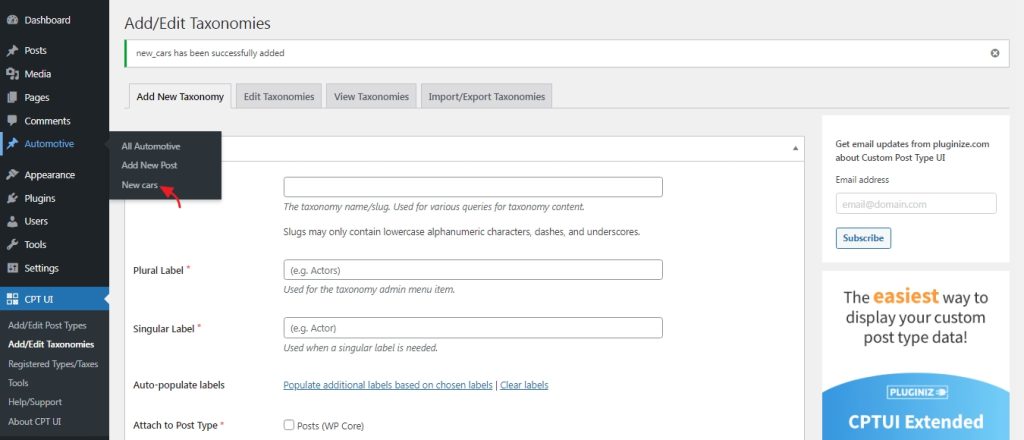
This will add the new taxonomy to the post type menu you have created.
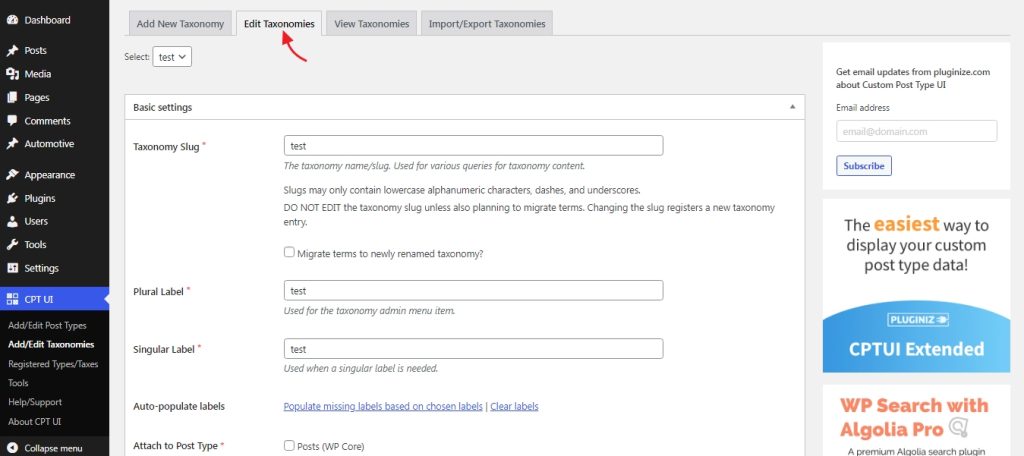
If needed, the taxonomy can be further edited from the “Edit Taxonomies” tab such as determining whether to make it hierarchical and so on.
Creating custom post types manually
Now if you are doing it manually we suggest creating a child theme, to ensure that the changes will not be lost during a theme update.
Once the child theme is created, add the below code to the functions.php file.
}function portfolio_post_type() {
	register_post_type('portfolio',
		array(
			'labels'      => array(
				'name'          => __('Portfolio', 'textdomain'),
				'singular_name' => __('Portfolio Item', 'textdomain'),
			),
				'public'      => true,
				'has_archive' => true,
		)
	);
}
add_action('init', 'portfolio_post_type');
The above code snippet is a basic one and will allow you to register a new custom post type in WordPress. In our case, it will register a new post type called “Portfolio”.
Now as per the need, this code snippet has to be further modified to suit your needs. We can also create a custom taxonomy if we want to via code. Adding the code to the functions.php file will create a “Categories” option in our “Portfolio” post type.
function portfolio_taxonomy() {
    $labels = array(
        'name'                       => __( 'Categories', 'text_domain' ),
        'singular_name'              => __( 'Category', 'text_domain' ),
    );

    register_taxonomy( 'portfolio_category',
        array( 'portfolio' ),
        array(
            'labels'                     => $labels,
            'hierarchical'               => false,
            'public'                     => true,
        )
    );
}
add_action( 'init', 'portfolio_taxonomy' );
Replacing the term “Categories” in the above code snippet will affect the name displayed on the dashboard and substitute “Portfolio” with the name of your custom post type. Now just like the post type, this code also can be fine-tuned according to your needs.
To create multiple custom post types and their taxonomy, just repeat the steps.
Also read: The Complete Guide to Install WordPress Locally – Windows, Mac, Linux
Wrapping Up
Knowing how to create custom CPTs is useful when dealing with content belonging to various categories. This allows you to organize the content in a much more efficient way.