When you recognize your content’s value and potential, creating a WordPress membership website can yield positive results. Besides acting as a source of income, it also fosters a vibrant community where members can learn and grow together.
You have seen others have great success with a membership website, but now, how do you get started with it? In this guide, we’ll walk you through the straightforward steps to effortlessly set up your WordPress membership site.
How to Create a Membership Website With WordPress
When it comes to creating a membership website with WordPress, there are many plugins that you can choose from, such as ProfilePress, Paid Memberships Pro, MemberPress, Ultimate Member, Paid Membership Subscriptions, and so on.
For this guide, we have opted for the Paid Memberships Pro plugin.
Also read: Everything You Need to Know About WordPress User Roles and Capabilities
1. Install and activate the plugin
From your dashboard head over to Plugins > Add New Plugin and install and activate Paid Memberships Pro.

2. Initial setup
Once the plugin is activated, the home screen will present you with a setup wizard. From here, the process of building a fully-fledged WordPress membership website is straightforward.
The setup wizard is a combination of drop-down menus and checkboxes, that simplifies the process further. To get started, complete the “General Info” tab by selecting the right ones according to your needs.
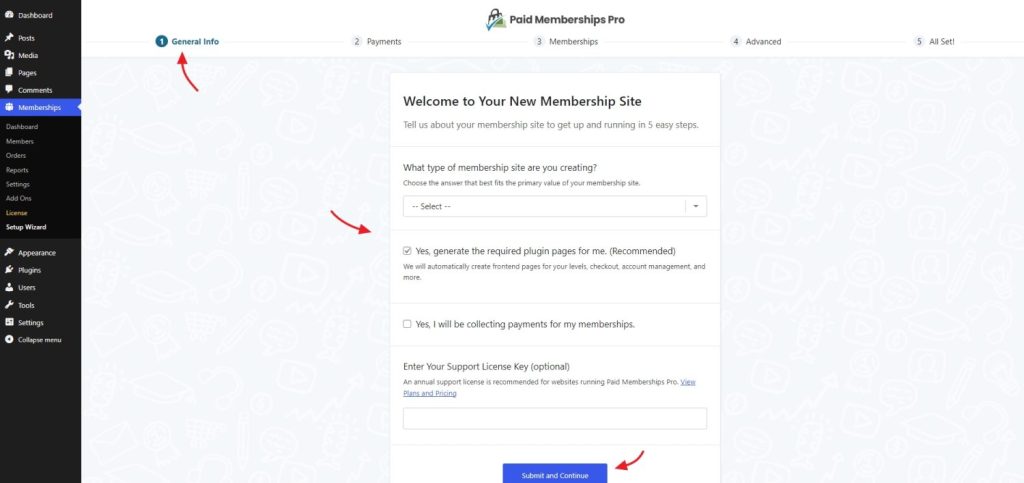
Once you have configured this stage, click on “ Submit and Continue”. The next stage is to configure the payment settings.
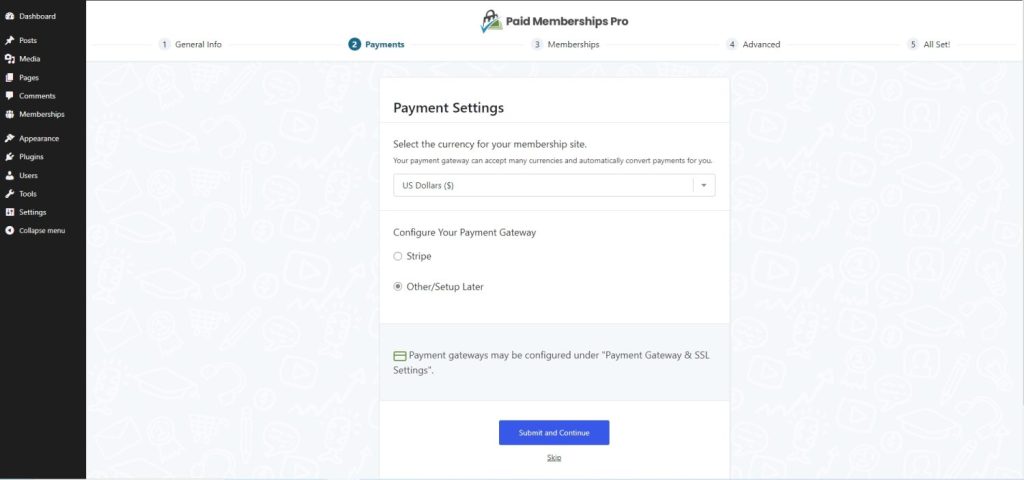
Note: If you have unticked the “ Yes, I will be collecting payments for my memberships”, the plugin will skip the payment configuration tab and move directly to the “Memberships” section.
Now in the payments section, you can configure two things:
- The currency for your membership site
- The payment gateway
You can choose your preferred currency from the dropdown menu.
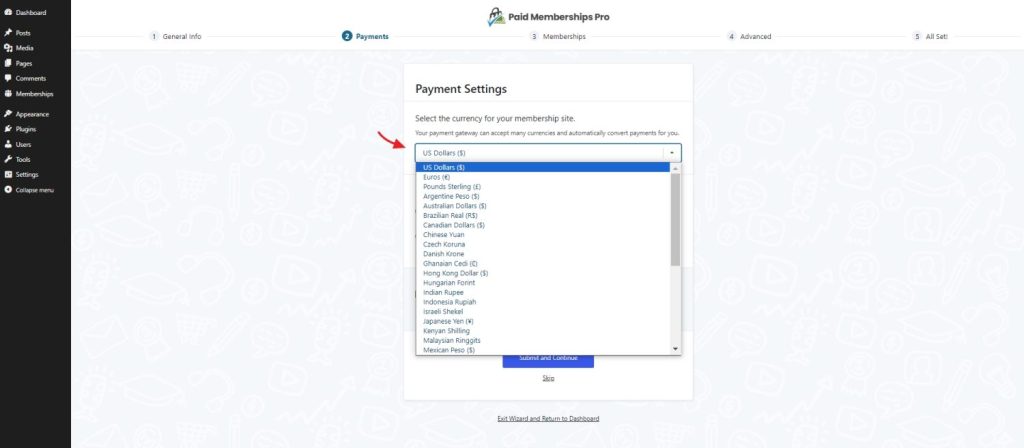
From the “Payment Gateway & SSL Settings,” you can enable Stripe or any other payment gateway.
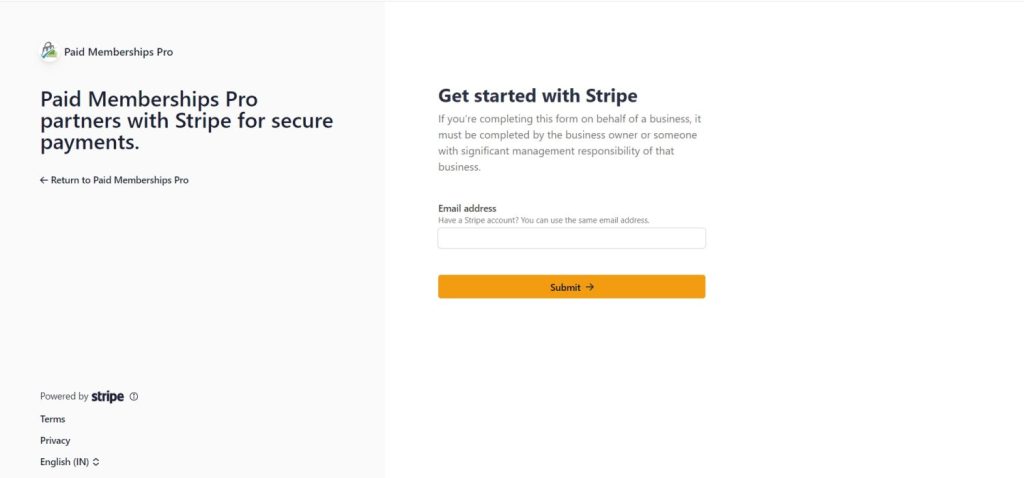
If you have opted for Stripe and click on “Submit and Continue,” the wizard will take you to a screen form where you can connect your website to Stripe. Follow the onscreen instructions to complete the process and then return to the website to continue the rest of the setup process.
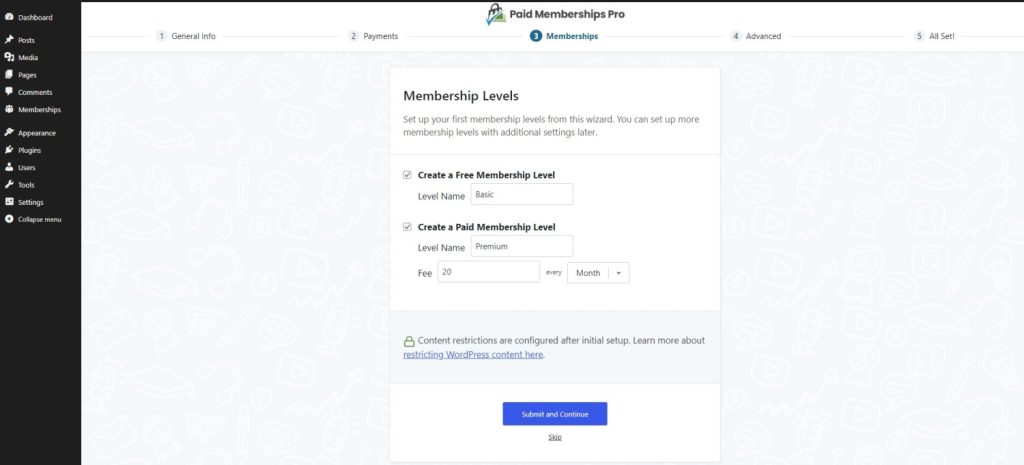
The next stage is to define the various membership levels. From the initial wizard, you can define two levels of membership: “Free” and “Premium.” If needed, this can be customized later from the plugin settings.
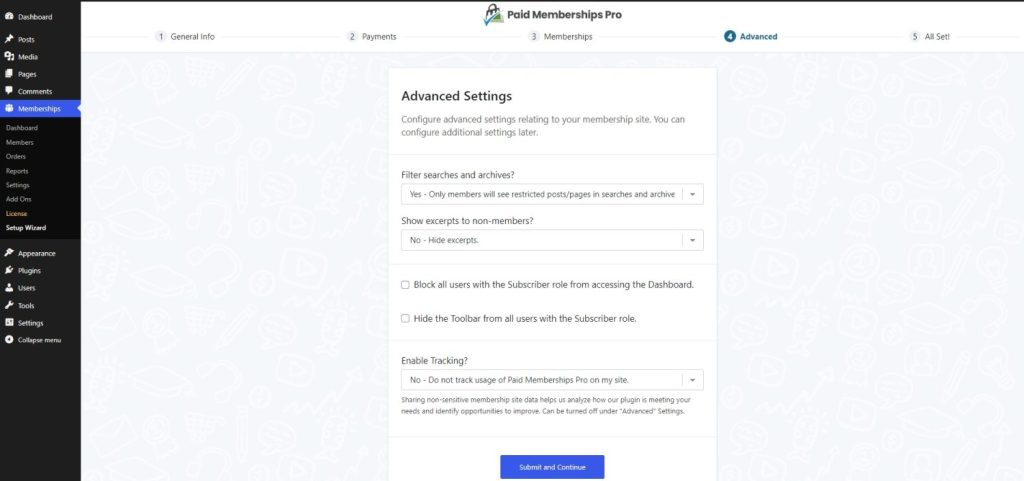
Once you’ve done this, the next step allows you to define various settings and who can access them. Configure them according to your requirements.
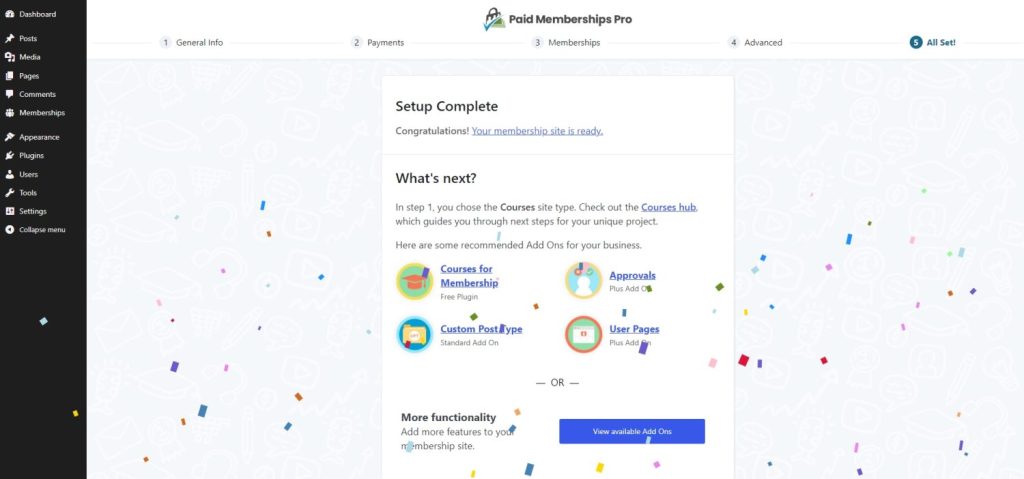
Once this is done, the initial setup is over, and everything you need to convert users into members has been set up properly.
If you view your website now, you can see the various pages have been activated.
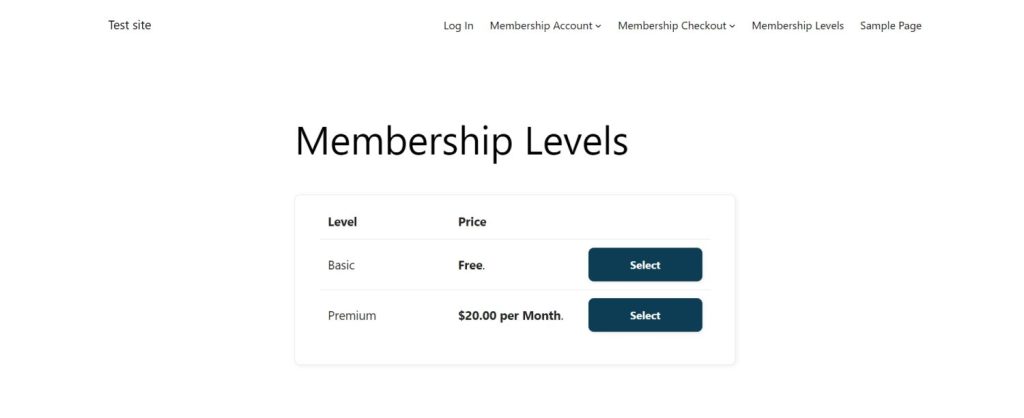
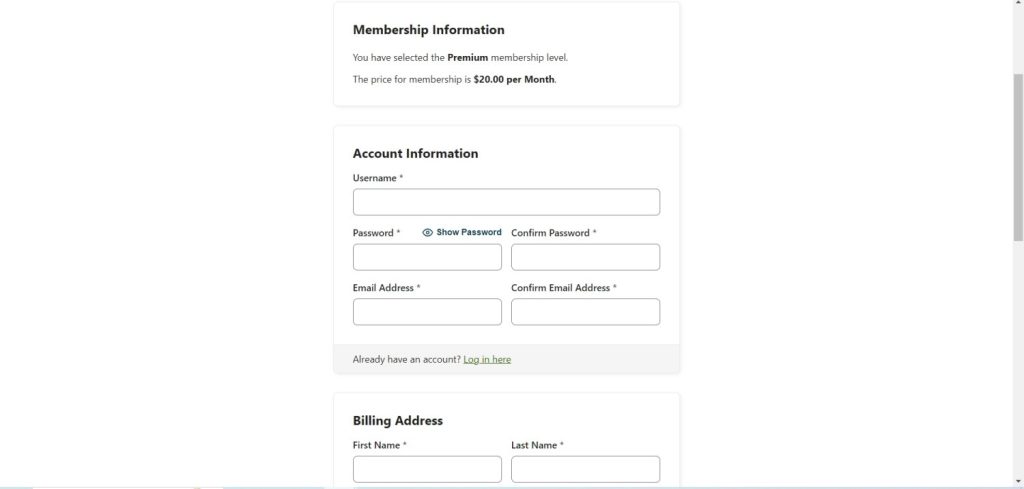
Website visitors can choose any of the membership levels and sign up accordingly by entering the required information.
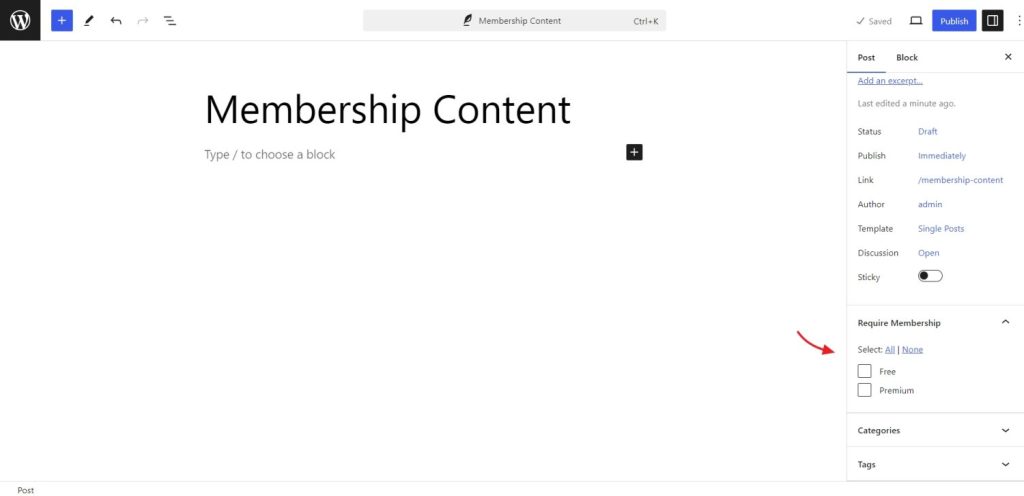
Now, when you create a new post or go to edit an existing post, you can see a new option on the right-hand side menu. This will allow you to decide whether you want to restrict the content to members or not.
If non-members try to access content, they will see the following screen.

3. Advanced configuration
After the initial setup, you can customize the various options to suit your WordPress membership site further.

The dashboard also provides an overview of sales, revenue, membership stats, and other relevant information.
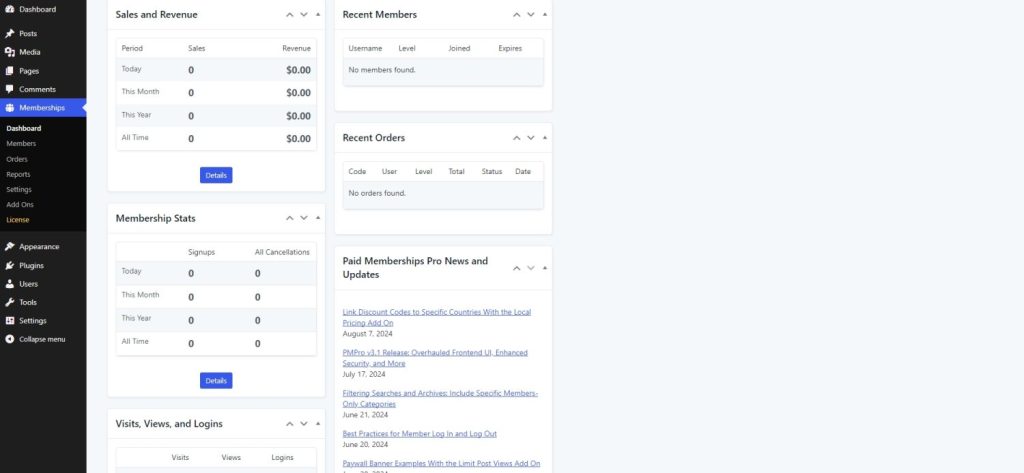
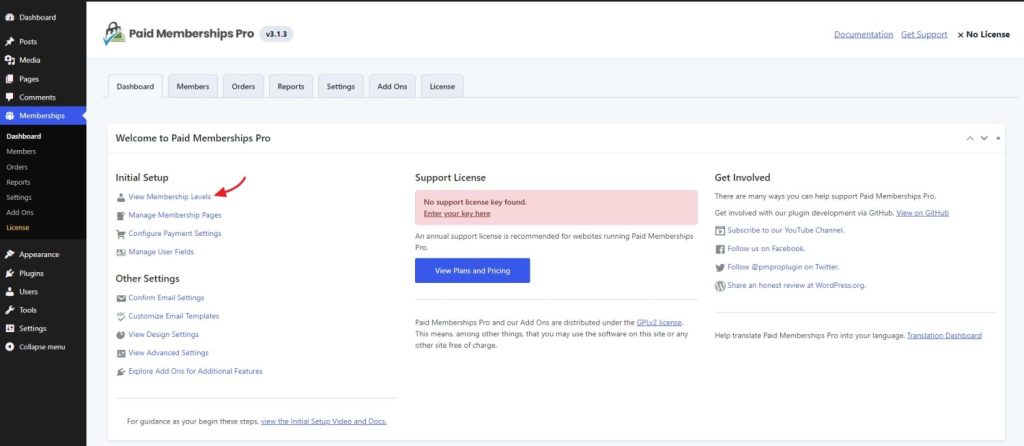
You can edit the membership level further by selecting “View Membership Levels” from the dashboard.
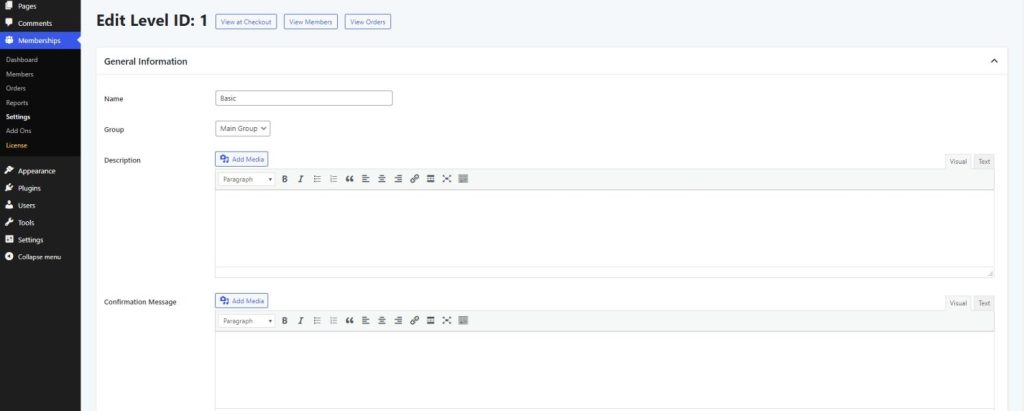
If needed you can add a description, confirmation message, define content settings, and so on.
Everything from the pages to payment gateway to security and more can be fine-tuned as per your need.

Also read: A Comprehensive Guide on Creating WordPress Custom Post Types
There are also several add-ons that you can install to extend the functionality.

Wrapping Up
Creating a membership website with WordPress is straightforward, but to truly stand out, focus on delivering content that sets you apart from the competition.
