

With the passage of time, many things are bound to change, from preferences to styles and so on. Staying relevant is essential and for website owners, this can be a bit tricky, but is doable. As a result, giving your website a fresh face with a new theme is an unavoidable aspect in the long run.
But it is easier said than done. The reason is that changing a WordPress theme is not as simple as you imagine it to be. The steps to change a theme on a WordPress website are fairly straightforward, but making sure that the new theme appears and behaves the way you want it to be is where it gets a bit tricky.
When you change a WordPress theme, you need to review many elements to maintain the overall appearance. We will explore how to change and completely transition from one theme to another.
Also Read: Complete Guide to Creating an Email Newsletter in WordPress
Does Changing the Theme Lead to a Content Loss?
No. Irrespective of which theme you choose or how many times you change the theme of your WordPress website, there will be no loss in content. By content, we are referring to the pages, your blog posts, and so on. However, the way it will appear on the front end will be different from what it used to be in the previous theme.
The Things to Do Before You Change the WordPress Theme
Before you start giving your website a revamp there are two things you need to do and they are:
Take a complete backup
The first thing you should do before changing a WordPress theme is to make a complete backup of your website. Having a full backup is always a good idea, as we can easily revert if anything unexpected happens.
The simplest way to do this is with the help of a backup plugin. For this guide, we have opted for UpdraftPlus backup & migration plugin.

Once the plugin is installed and active, click on ‘Backup Now’.
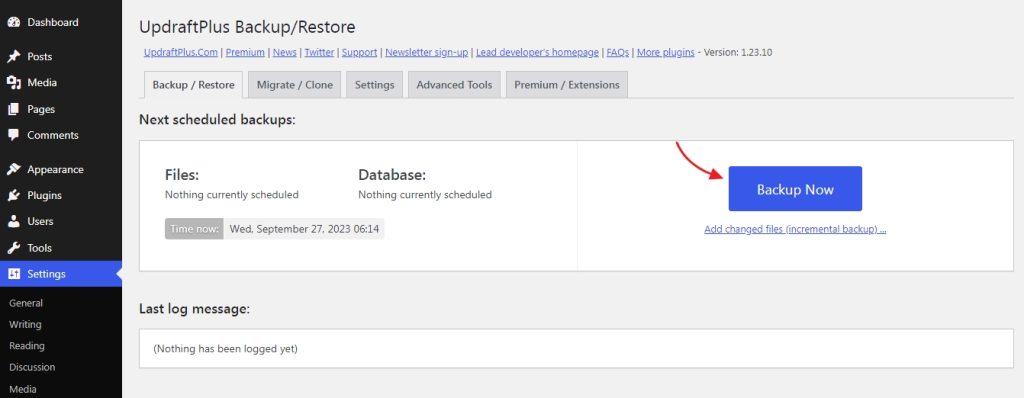
On the next screen, select both the database and files and click ‘Backup Now’.

This will start the backup process and once it’s done you have a complete backup of your website. Once you have the backup you can download it to the local device or choose a remote storage option.

Make a note of your website
This step can be challenging if you don’t know your WordPress theme inside out. If you have a developer working on the theme, you will need to ask them to note all the custom code snippets they have added. This will include the custom CSS and other codes, and so on.
Also, take visual note of the headers, footers, and widgets, as you have to redo them from the start when changing the theme.
Also Read: Guide on How to Create a WordPress Membership Website
How to Switch WordPress Themes the Right Way
Now that we have done the groundwork, we can get on with the main stage.
Setting up the workspace
Firstly, you do not want to change the theme on a live website, as it will lead to a bad user experience. Therefore, you have two options:
- Set up a staging environment
- Local environment
Now, the majority of web hosting plans offer a staging site option, but if yours doesn’t, you have to work with the local host and push the changes later. If you opt for a local host, the process of moving everything from your server to local and vice versa will involve many steps. Therefore, we prefer you to opt for a hosting plan that offers a staging site environment.
Once you set up the staging environment, it’s time to change the WordPress theme. Within the staging site, head over to Appearance>Themes.

With WordPress, you can either choose any theme from the repository and customize it as needed or upload a theme you have developed or sourced from a theme store.
Also Read: The Top WordPress Mistakes That You Must Avoid
Customizing the theme
Once the theme is active, the customization process begins. If you have opted for a block theme, you can use the full site editing features.

If you are moving from a classic theme to a block theme, you can export the widgets, as this functionality was introduced in WordPress 6.2.
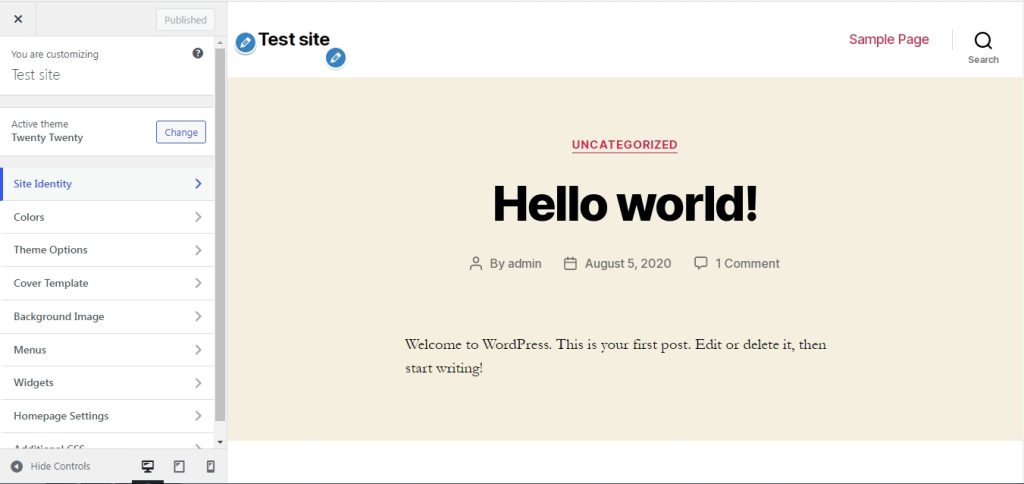
Instead, if you have opted for a classic theme, you will work with the customizer.
Now the customization process is where a majority of your time will be spent. From setting up the headers, footer, menus, multiple pages, widgets, and so on. Once all the changes are done and everything works as intended, it’s time to push the changes from the staging site to the live site.
Migrating the New Theme From Staging to Live
To do this, you need to enable maintenance mode on your website. You can either use a plugin or do it manually. Once the maintenance mode is active, the website will be temporarily unavailable to visitors.
The website visitors will also be notified that maintenance is ongoing and the website will be live shortly. We have used the Maintenance plugin which has over 800,000+ active installations to enable the maintenance mode.
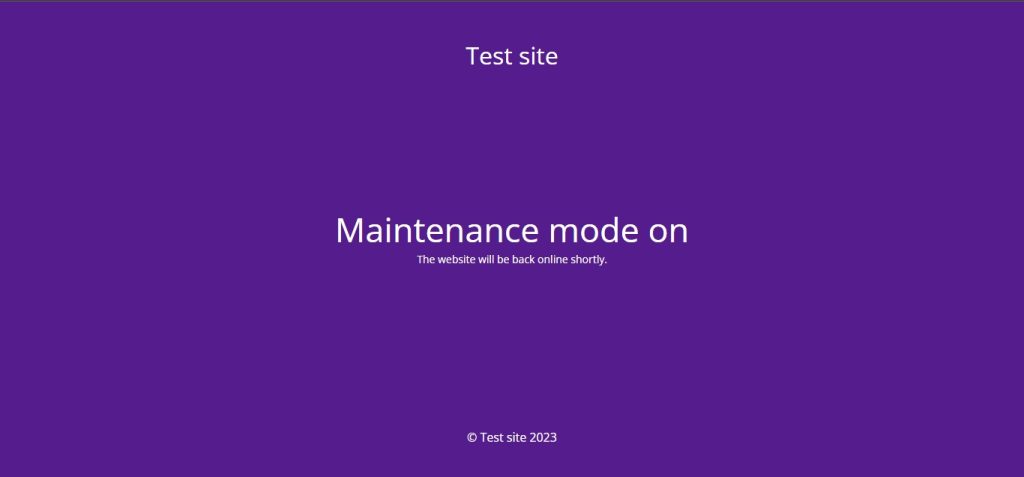
Once the migration from staging to live is complete, turn off maintenance mode and you are done. Your new theme is now active.
Why You Don’t Want to Change the WordPress Theme on a Live Site
The most important thing is not to change the theme on a live website and then work on it. Doing so will lead to a bad user experience, as most of the web page elements will be broken or lost.
As an example, we have taken two themes, Remote and Livro both from Automattic. With Remote as the default theme for our test site, this is how the homepage looks.

Now consider this is the layout the website users are accustomed to. We then change the theme to Livro theme and this is how the homepage will look like.

However, this is not how we want our homepage to look. Right away, we can notice two differences. First, the primary menu is missing, but it has been carried over. To access it, we need to click on the two vertical lines at the top left-hand side. Second, the categories list is missing.
These two changes will impact the user experience. Let’s start with the navigation, as users will need a few seconds to find the navigation menu. Then comes the categories list, which allows website visitors to jump into their preferred section quickly.
These two changes can be fixed immediately, but depending on the complexity of your design, it may take more time. This, in turn, affects the user experience.
Also Read: Learn How to Recover a Hacked WordPress Website
Why Changing WordPress Themes Can Be Time-Consuming
As we have mentioned, changing a theme can be time-consuming because you want it to appear the way you want it to. When you transition from one theme to another, for any reason, all the custom changes that you have made to the previous theme will be lost.
This will include:
- Custom code snippets
- Custom CSS
- Menus
- Widgets
- Theme related features
- Font
- Contact page
- 404 page and so on
Now the more pages you have, more the time and effort you have to invest to make everything appear the way you want it to be.
Wrapping Up
With the right preparation, changing the theme in WordPress is not that hard at all. Remember to always have a complete backup to revert quickly in the worst-case scenario.