

Image optimization is a skill you must possess if you don’t want a slow loading website in your hands. High loading time leads to lower SEO ranking and users deserting a site. But you can tide over this situation by reducing your image’s file size without compromising much on their quality. In this article, we will share points on how to optimize the images for your websites. But before that, we will see what image optimization is.
What is Image Optimization?
Image Optimization is reducing the size of images as much as possible without compromising quality and delivering these high-quality images in the right size, resolution and format. It ensures that the page load times remain low. The two methods commonly used are lossy and lossless compression. It may sound very complex but we assure you that just like other things in WordPress, it is also very simple.
Lossy compression eliminates some of the data and thus images saved in a lossy format will look slightly different than the original image when uncompressed. You have to be careful of how much to reduce the image for it may degrade the image. But the file size can be reduced by a large amount.
In Lossless compression, there is no decrease of quality and hence images saved in lossless format retain all the information of the original image and are much larger in size. They have to be uncompressed before they can be rendered.
Benefits of Image Optimization
Improves SEO Ranking: Fast loading sites are ranked better by Google than slow-loading sites. Optimized images will help you rank higher in search engine results. Large images will slow down your website and search engines hate slow sites. So to rectify the situation, compress your images.
Improves Page Load speed: Page load speed is the time taken by a web page to load completely. It depends on many factors like website design, layout and website hosting. If your page takes too long to load, your visitors will be unimpressed and might move to your competitors.
Better Conversion Rate: With a fast loading website, you are sure to impress your users and increase the chances of them buying your products. This will boost your sales and profits.
Also read: SEO Simplified for Beginners in 15 steps
Tips to Optimize Images for the Web
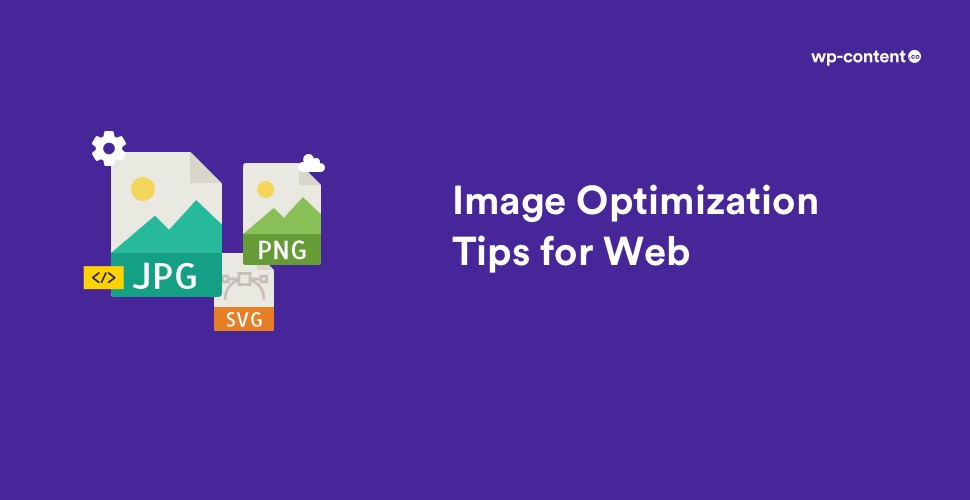
1. Choose the correct file type
There are three common file types that are used to post images to the web – PNG, JPEG and GIF. PNG produces higher quality images but the larger size is a cause of concern. JPEG images can be compressed considerably resulting in small-sized images with quality. JPEG has become the de facto standard of the Internet. GIF is mostly used for animated images. Quality-wise, they are lower than JPEG images and thus should be limited to simple images like icons and decorative images. From among the three, you can choose the format that is most suitable for you.
2. Reduce the file size of your images
You have to find the right balance between resolution and file size. High-resolution images have a large size and tend to slow down your website. So if you can reduce the size of your images without making it blurry, you can do a world of good for your website. You can easily find the file size and image size on your computer. Just right click on the image file, choose “Properties” and then “Summary” to know the image size on a Windows PC. If you are using a Mac, Ctrl+click on the image file and choose “Get Info” to get the image details.
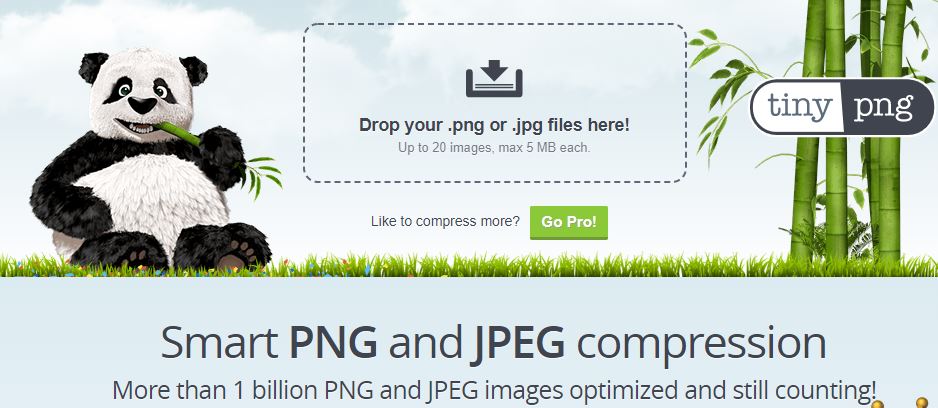
There are several ways to reduce the file size of images. Using the “Save for Web” option in Adobe Photoshop is one way to reduce image size. You can also use free programs like Compress JPEG, Compress PNG, TinyPNG or Tiny JPG to compress your images.
3. Name the images correctly
Naming the images correctly will help your SEO too. But sometimes we forget to use relevant keywords and end up using terms like “Image1.jpg” or “screenshot1.jpg”. Using descriptive, keyword-rich names is important for image optimization. Search engines also crawl your image file names. You can use website analytics to see the keyword patterns followed by your customers. Determine the most common naming patterns they use and derive your own method for the image file naming process. This will make it easier to manage your images too.
Also read: Best Sources of Free Illustrations
4. Optimize your thumbnails
Thumbnails are used in many eCommerce websites on category pages to quickly showcase products. They are great but the issue is they may slow down your website ending up with you losing valuable customers. So always make sure to keep your thumbnail sizes to a minimum. To prevent thumbnails from having a huge impact on your load time, you may even let quality slide a bit in favour of small file size. Also, make the alt text different to prevent the thumbnail from being indexed instead of the larger image. Never give the same alt attribute text for both thumbnail and bigger image.
5. Make images the same size and style
If you stick to using the same size and style for all images on a web page, it will be more aesthetically pleasing. It will also help you to line up texts, columns and other information on your page besides giving it a consistent look. Images of random sizes scattered across a web page will give it a cluttered look leaving your visitors to the website unimpressed.
6. Optimize your alt attributes
Alt-text is used to describe the appearance and function of an image on a page. They help to improve accessibility by describing images to visitors who are unable to see them, increase topical relevance and SEO ranking and serve as an anchor text for image links.
A good alt text should be concise and accurate. It is also better to avoid repeating the information or stuffing it with keywords. There is no need to add alt text to images that do not carry important information or exist only for decorative purposes.
7. Be aware of copyrights
Before using images in your website, make sure there is no copyright conflict and you have the necessary permissions to use it. Always reconfirm that the image’s creator has the rights to permit you to use it. The dangers of using images without the necessary permissions include lawsuits, financial loss, loss of brand and blog credibility and destruction of reputation.
8. Images and CDNs
You can host your images on Content Delivery Networks to save bandwidth. Hosting your images on a CDN means setting up a CDN to serve them instead of having your own server to do that. A CDN takes the heavy load off your server. It isn’t a replacement for your hosting service, but a way of adding an optimized server that will speed up your website. CDN services usually offer a WordPress plugin so you can easily integrate it into your site.
But CDNs have one drawback when it comes to backlinks, which is critical for SEO. By placing your images on a CDN, you are most likely removing the image from your domain and placing it on the domain of the CDN. So when someone links to your image, they are actually linking to the CDN domain.
If your website is doing tons of business every month, then a CDN is most likely a good idea since it can help solve bandwidth issues. If your site only gets thousands of visitors a day right now, chances are your current hosting situation can handle the load and there is no need for CDN.
9. Judiciously use Decorative Images
Decorative images can add to the aesthetic appeal of your website but they can result in a large combined file size and slow load times. Therefore, you might want to consider taking acautious approach towards your decorative images so they won’t impair your website’s ability to convert visitors into customers.
Check the file sizes of all the decorative images on your site and keep only minimal file sizes. You can use CSS to create coloured areas instead of images. Try to replace as many decorative images as possible with CSS styling. Also, shrink them down as much as possible without affecting quality too much.
10. Use Image Sitemaps
Image sitemaps will help get your images noticed by Google. They provide information that helps Google discover images that it might not otherwise find. Sitemaps also allow you to indicate images on your site that you want Google to crawl and index. Web crawlers can’t crawl images that are not called out specifically in the webpage source code. So, in order to let crawlers know about unidentified images, you must list their location in an image sitemap.
Using sitemaps doesn’t guarantee that your images will get indexed by Google, but it’s certainly a positive step towards image SEO.
Summary
We believe we have equipped you with enough tips to optimize your website images. Once you have optimized your images for better performance and followed best practices, your website will load faster and will be liked by search engines, browsers and networks. If you have any other image optimization tip that we have missed, please let us know in the comments section below.