


Hosting fonts locally in WordPress does have its fair share of benefits but a lot of website owners are unaware of it. It includes not depending on an external server to host the fonts, thereby eliminating any privacy concerns and reducing HTTP requests. Not only this but when the fonts are served right from your own server, there is also an improvement in page load times.
If this sounds good to you, then you are in the right place. We will be learning how to host fonts locally in WordPress with Classic and Block themes and how you can do it manually as well as with the help of a plugin.
How to Host Fonts Locally in a Classic Theme Without Using a Plugin
Firstly, there are multiple websites from where you can download the fonts and it varies from user to user. Irrespective of where you get your font from, the steps will remain the same.
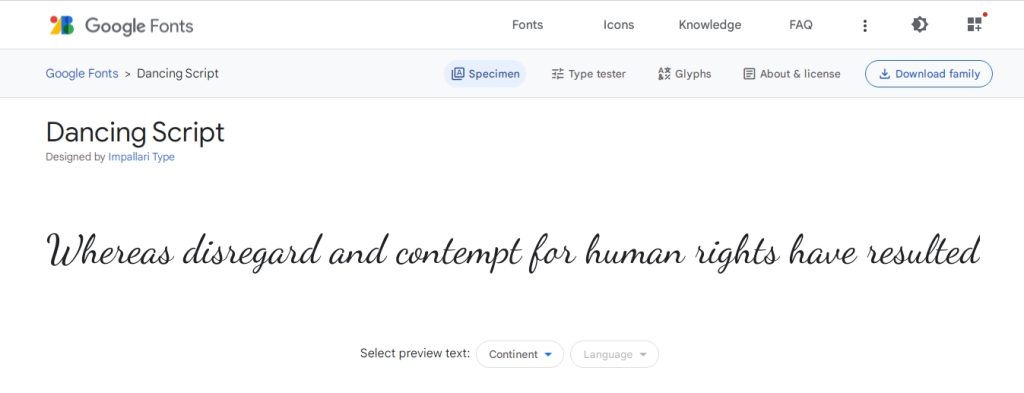
For this tutorial, we will be going with Google Fonts.
Also read: How to Fix “Error Establishing a Database Connection” in WordPress
1. Choosing the preferred font
Now we are selecting the Dancing Script font.
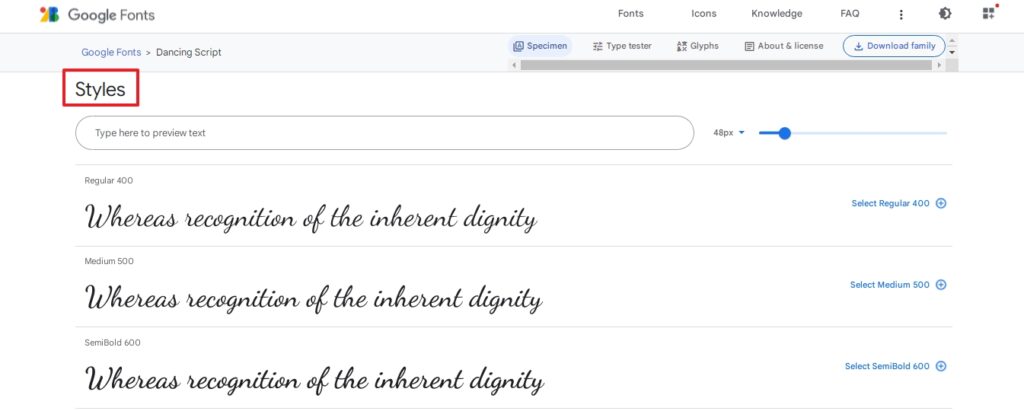
Google Fonts does give a preview of how various styles will look and you can view it by scrolling down to the styles section.
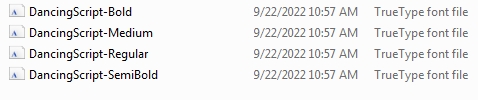
Once you have chosen the preferred font, download it. This particular font offers four style variations and the files are in TTF format.
Now there is another way to download the Google fonts; if you do it this way, you could skip step two and move directly to step three. This only applies if you are getting your font from Google Fonts.
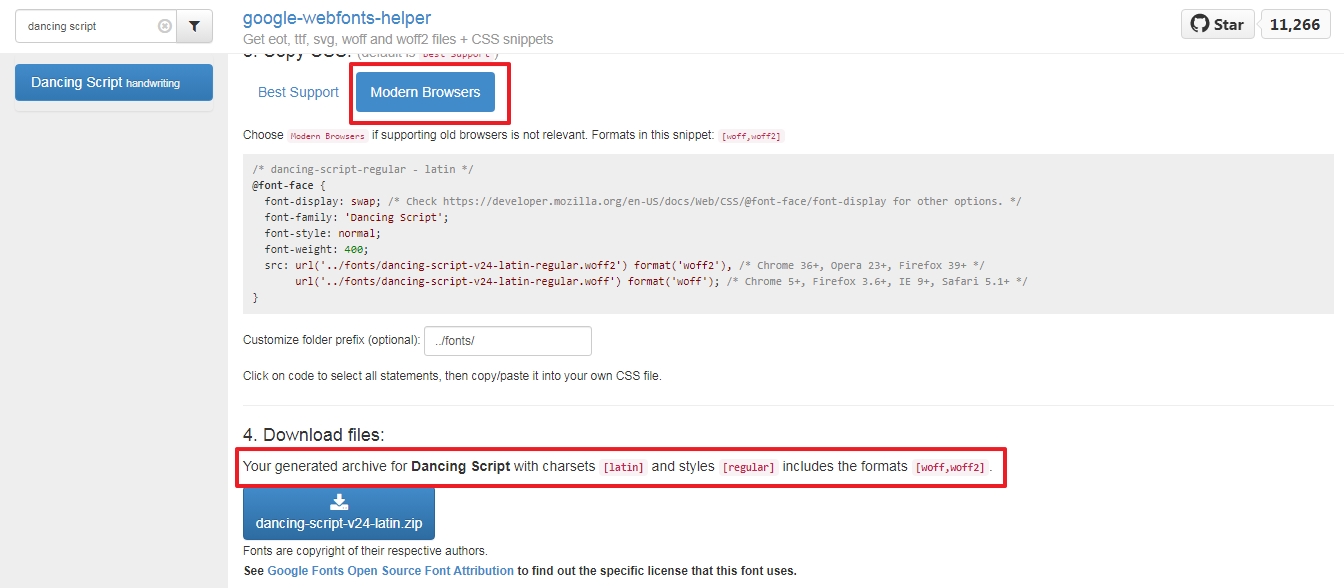
All you have to do is head over to Google Webfonts Helper, search for the font, and download it. In our case, it is the DancingScript font.
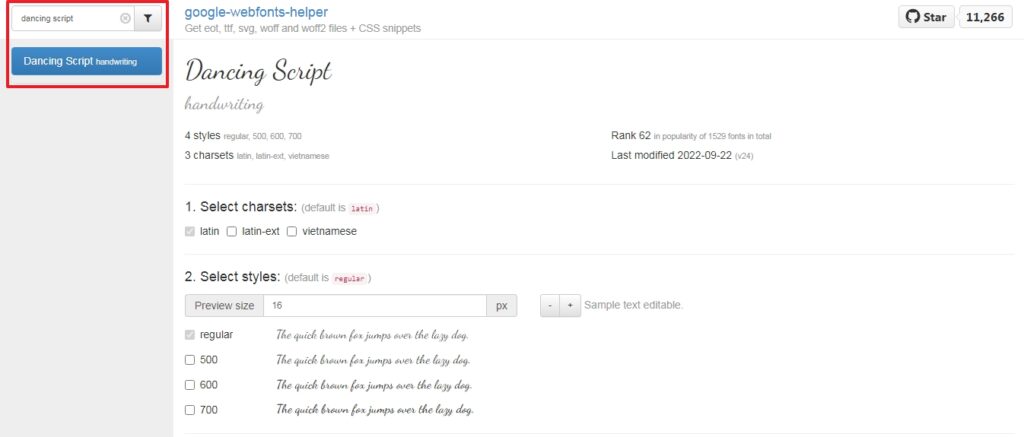
Now scroll down and select “Modern Browsers” and hit download. What this basically does is downloads the font files in WOFF and WOFF2 format itself. These are the format that is preferred by modern browsers.
2. Converting the font files from TTF to WOFF
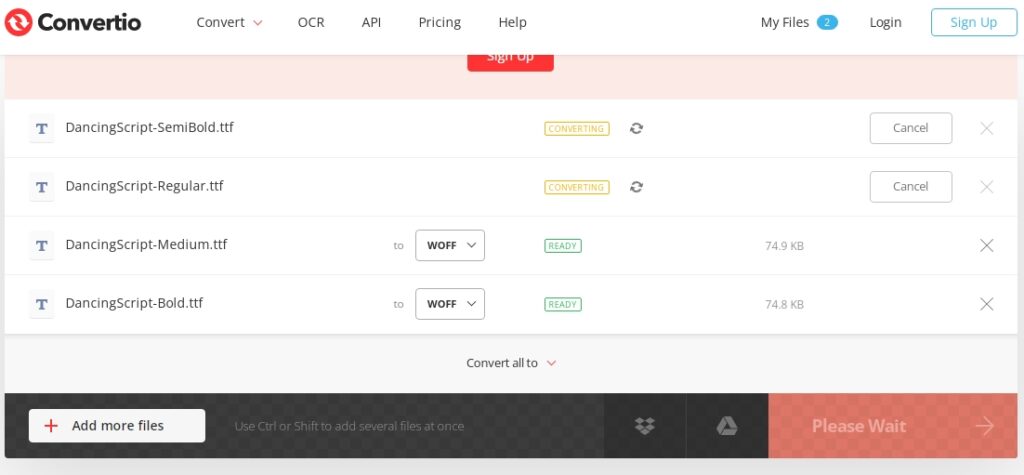
Now the chances are not all will be using Google Webfonts Helper. In that case, the downloaded font will be in the TTF file format, and converting to WOFF format has its advantages when you decide to host fonts locally. It ensures support for all modern browsers as well as uses less bandwidth.
There are various online tools you can use and one popular one is Convertio.
Upload the preferred font styles to the tool and it will start converting.
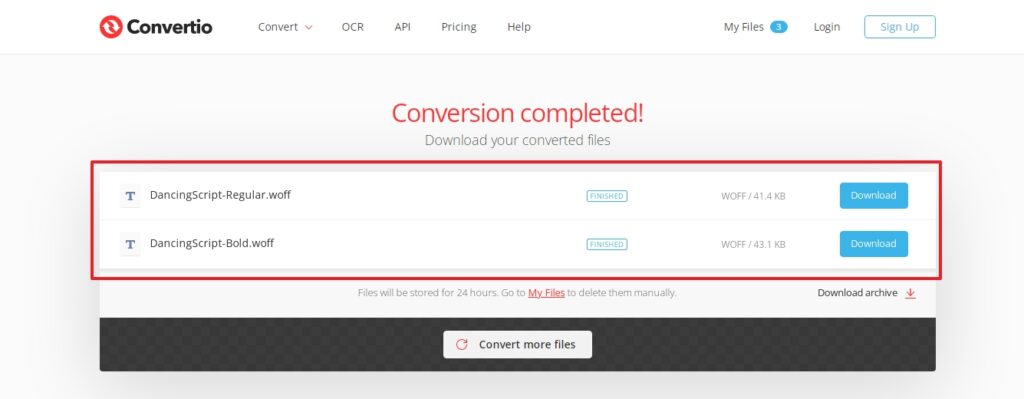
Once it’s done, you will be able to download the converted file.
3. Uploading the selected fonts
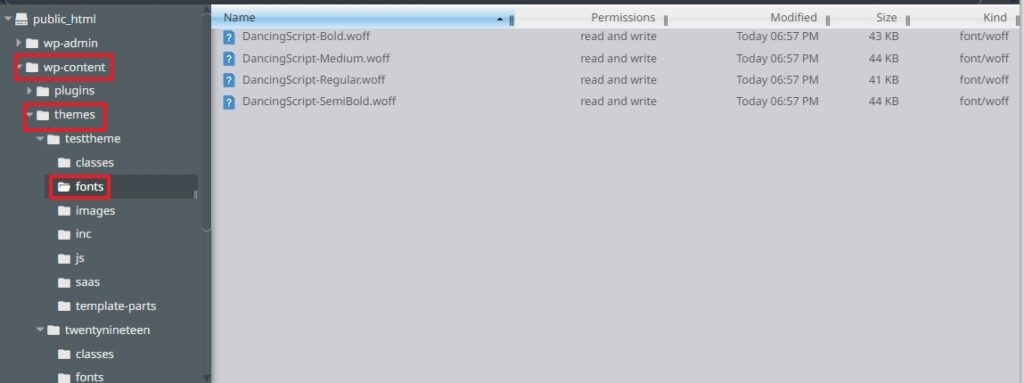
Now the next step is to upload them to your server. For this, you need to connect to the server via FTP. Once you are connected through FTP, head over to the wp-content folder then to the themes folder, and create a new folder inside your active theme’s folder. We are naming the new folder as fonts.
Note: If you are hosting the fonts in a different directory please update the font files path accordingly.
Now the fonts have been uploaded to the server and we are almost there. Uploading the fonts doesn’t mean your website is going to start displaying the content using it. For that, we need to add code snippets.
4. Calling the local fonts
Now that we have the fonts on our own server, it is time to integrate the locally hosted fonts into the website. For Classic themes, you need to add the code snippet to the style.css file. For us, it will be like this.
@font-face {
            font-family: ‘Dancing Script’;
           src: url(‘fonts/DancingScript-Bold.woff’) format(‘woff’);
            font-weight: bold;
            font-style: normal;

}

@font-face {
            font-family: ‘Dancing Script’;
           src: url(‘fonts/DancingScript-Regular.woff’) format(‘woff’);
            font-weight: normal;
            font-style: normal;

}

@font-face {
            font-family: ‘Dancing Script’;
           src: url(‘fonts/DancingScript-SemiBold.woff’) format(‘woff’);
            font-weight: 600;
            font-style: normal;

}

@font-face {
            font-family: ‘Dancing Script’;
           src: url(‘fonts/DancingScript-Medium.woff’) format(‘woff’);
            font-weight: 500;
            font-style: normal;

}
We need to edit the style.css file once more to assign the locally hosted fonts to various elements like headings and titles. We have decided to assign the font to the heading and hence need to add the following code snippet.
.heading{
      font-family:'Dancing Script', cursive;
      font-size:36px;
      line-height:1.3;
      font-weight:700;
}
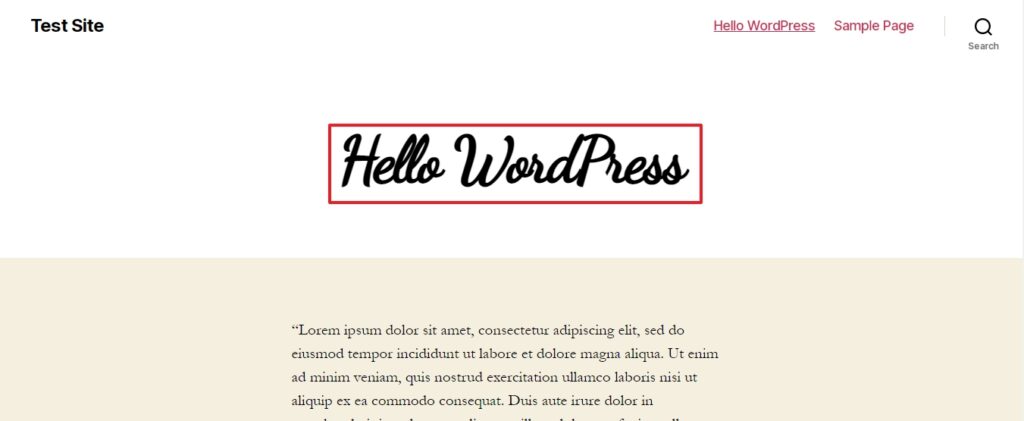
This is what the end result will look like.
Also read: Allowed Memory Exhausted? 4 Ways to Increase WordPress Memory Limit
How to Host Fonts Locally in a Classic Theme With the Help of a Plugin
Now that we have covered how to host fonts manually, it is time to look at how to do it with the help of a plugin when you are using a classic theme.
Here again, there are two options and it all depends on where you get your font from. There are plugins that help you easily host fonts from Google Fonts but such plugins don’t provide you with the option to upload the font files you have downloaded.
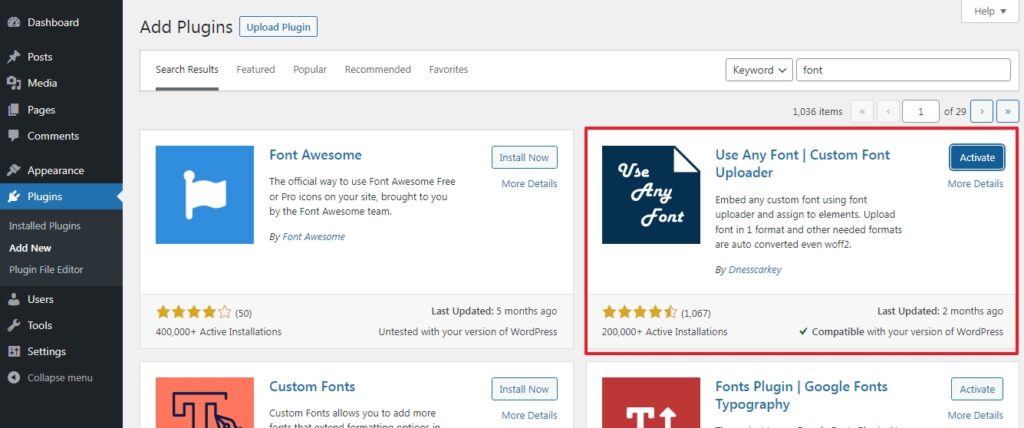
For this tutorial, we will be focusing on the Use Any Font plugin, as it allows us to upload downloaded fonts and not just stay limited to Google Fonts. The plugin by default allows users to upload one font only. In order to upload multiple fonts a premium key is required and it starts at $9.99.
1. Install and activate the plugin
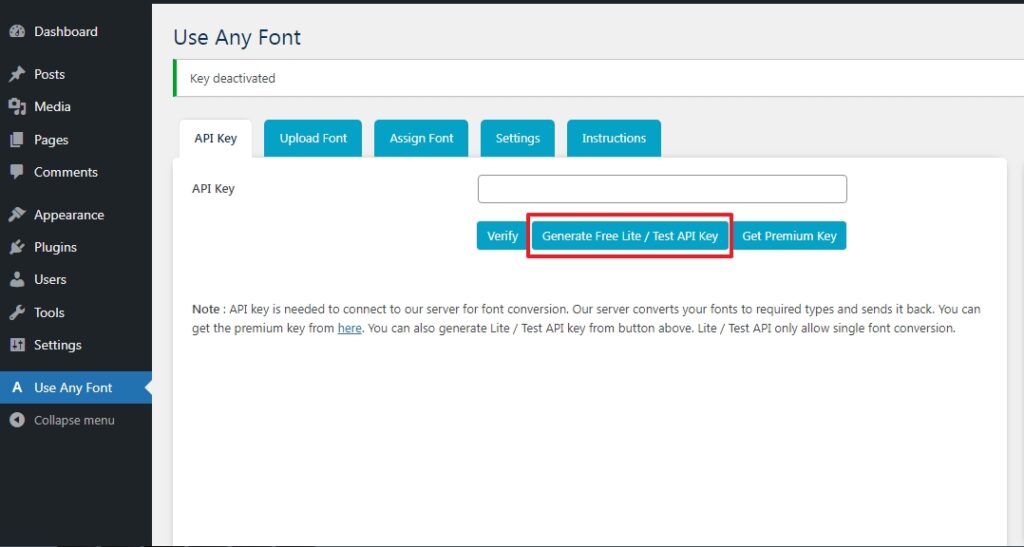
2. Generate a free API key
After successfully installing the plugin, we need to generate and verify the free API key which allows us to upload the desired font to our website.
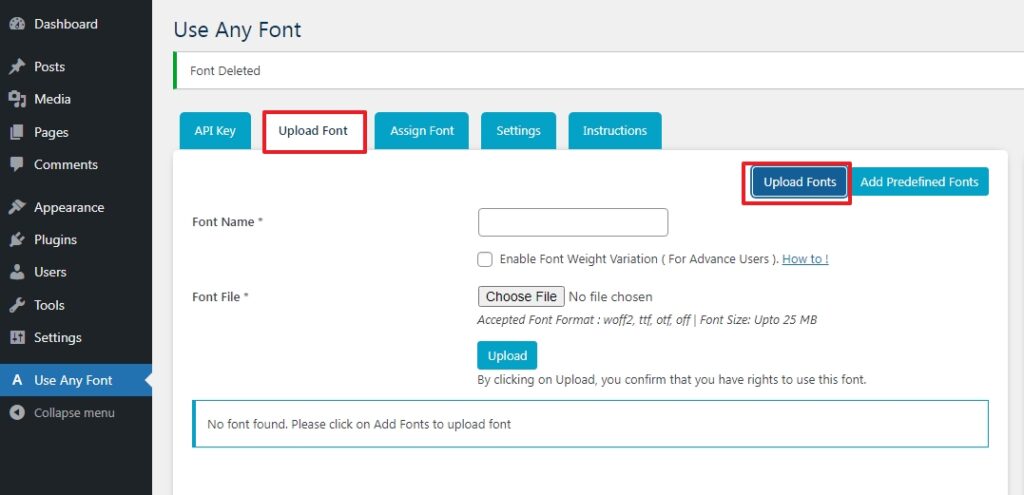
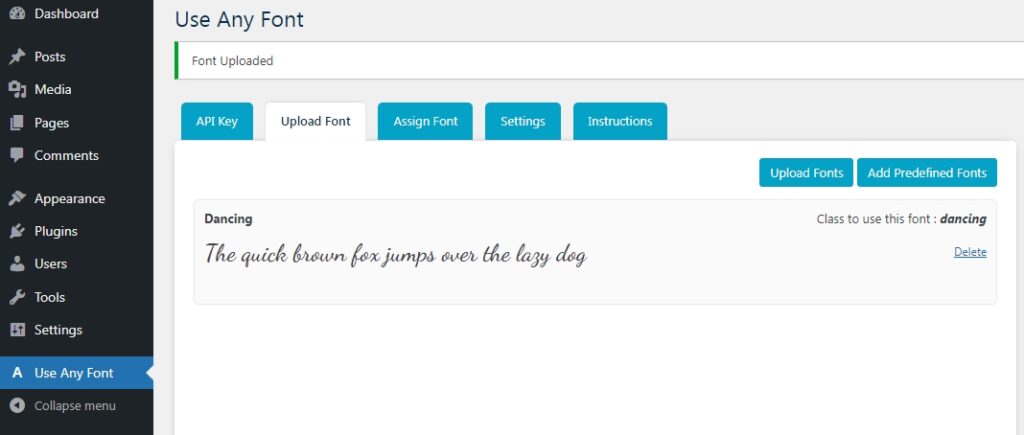
3. Upload the font
Now it is time to upload the font. As we said in the free version you can only one font and if you desire to upload more, a premium license will be required.
Head over to the upload font tab to laid the desired font. From here you can view the supported formats also.
This will be the final screen on a successful upload.
4. Assign the font
Now we need to assign the font to the different website elements we want. For this head over to the assign tab and choose all the elements you want to use the new font.
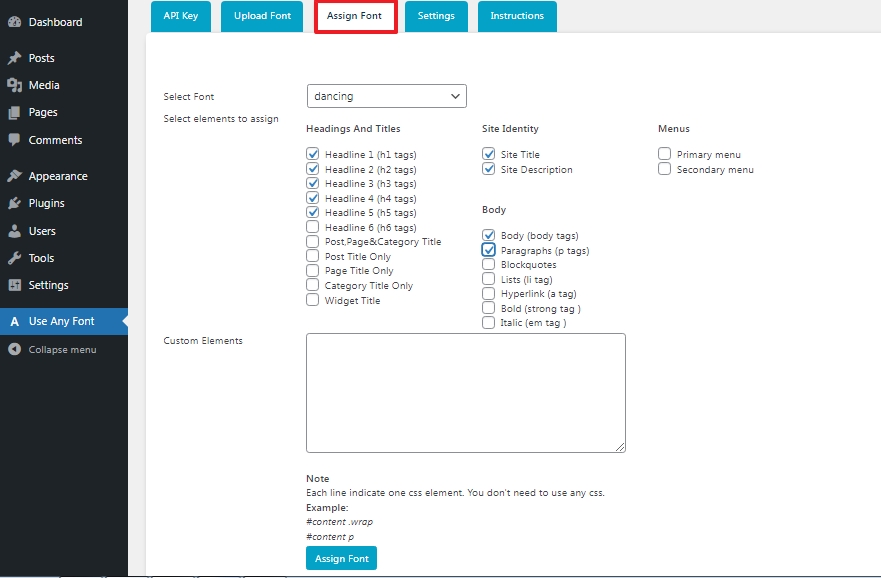
After assigning the font the results are immediate and this is how it was in our case.


Also read: The Top 3 Ways to Backup a WordPress Website
How to Host Fonts Locally in WordPress When Using a Block Theme (Manual Way)
Now it’s time to learn how to host fonts locally without a plugin when you are using a block theme. The process is almost similar to the classic theme but only up to where we upload the font to our server via FTP.
1. Editing the theme.json file
After this, we need to locate the theme.json file of the active block theme. It is this file that controls the typography settings in Block themes.
Once you have located the file, open it and look for “ fontFamilies “. It is here that we need to add the respective details of the font to be uploaded.
- fontFamily: Insert the name of the font here.
- name: The name inserted here will be reflected in the editor settings.
- slug: This is for the CSS custom property.
Now the rest of the information regarding the font goes below “ fontFace ” and they include:
- fontFamily: The name of the font.
- fontWeight: Used to refer to the font weights
- fontStyle: This is used for selecting font styles such as regular, bold, italic, semi-bold and so on.
- fontStretch: This is an optional setting.
- src: Here we enter the path to the font.
This is how it will look after adding all the needed details to host the font locally.
"fontFamilies": [
	    {
					"fontFamily": "Dancing Script",
					"name": "Dancing Script",
					"slug": "dancingscript",
					"fontFace": [
						{

							"fontFamily": "Dancing Script",
							"fontWeight": "400",
							"fontStyle": "normal",
							"fontStretch": "normal",
							"src": [ "file:./fonts/DancingScript-Regular.woff" ]
						},
						{

							"fontFamily": "Dancing Script",
							"fontWeight": "500",
							"fontStyle": "normal",
							"fontStretch": "normal",
							"src": [ "file:./fonts/DancingScript-Medium.woff" ]
						},
						{

							"fontFamily": "Dancing Script",
							"fontWeight": "600",
							"fontStyle": "normal",
							"fontStretch": "normal",
							"src": [ "file:./fonts/DancingScript-SemiBold.woff" ]
						},
						{

							"fontFamily": "Dancing Script",
							"fontWeight": "700",
							"fontStyle": "normal",
							"fontStretch": "normal",
							"src": [ "file:./fonts/DancingScript-Bold.woff" ]
						}

					]
				}
			],
Once this is done, the font can be selected and applied to various elements from the site editor and also in the block editor.
Also read: How To Fix the 500 Internal Server Error in WordPress
How to Host Fonts Locally in a Block Theme With the Help of a Plugin
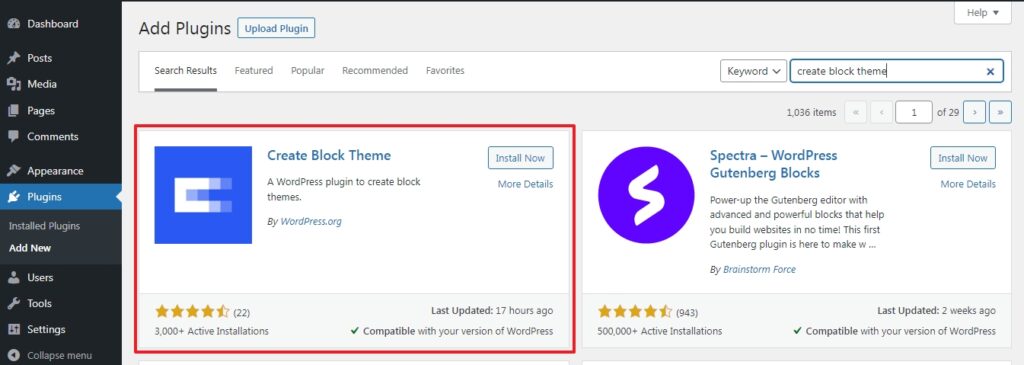
The plugin that we are going to use is called Create Block Theme plugin by WordPress.org.
1. Install and activate the plugin
2. Uploading the font
Once the plugin is activated, you can access it from the Appearance tab > Manage Theme Fonts.
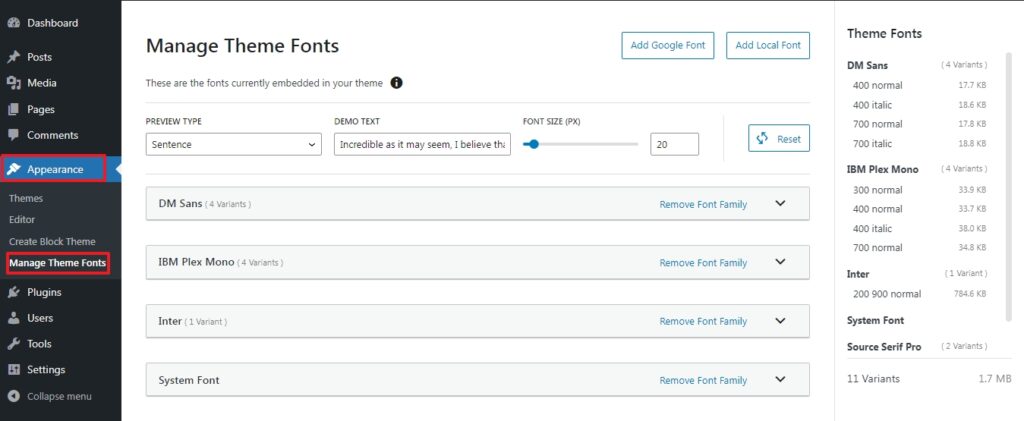
The plugin does offer a lot like it shows the preview of all the fonts that already exist in the theme, with the ability to remove the font family.
The plugin allows users to load fonts directly from Google Fonts as well as upload downloaded ones too.
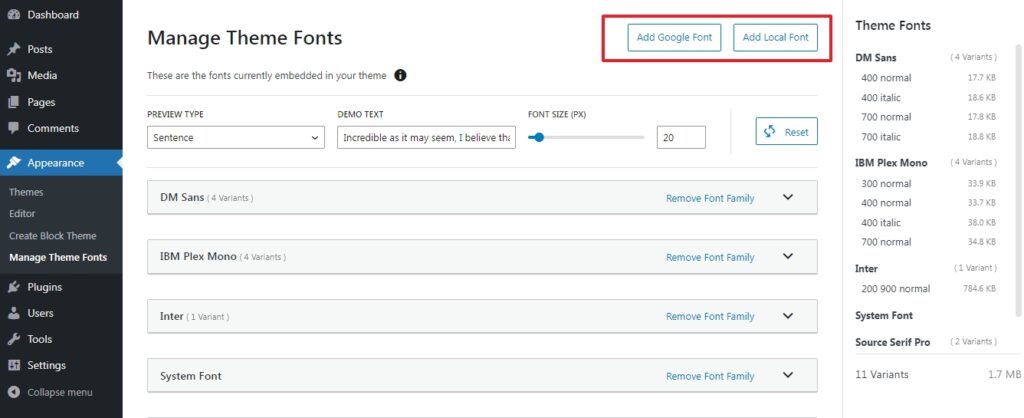
For this tutorial, we are going with Add Local Font option. Once you select the option upload the font and the plugin will show you a preview along with a few other preview settings. Once you are happy with the preview click on upload font to your theme.

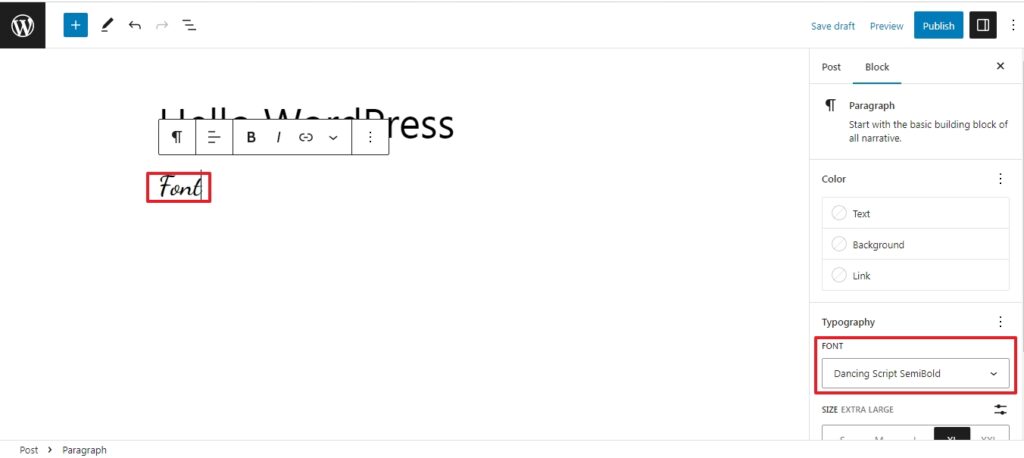
Once it’s done, you can head over to the Site Editor >Styles>Typography to see apply the font to the elements you want.
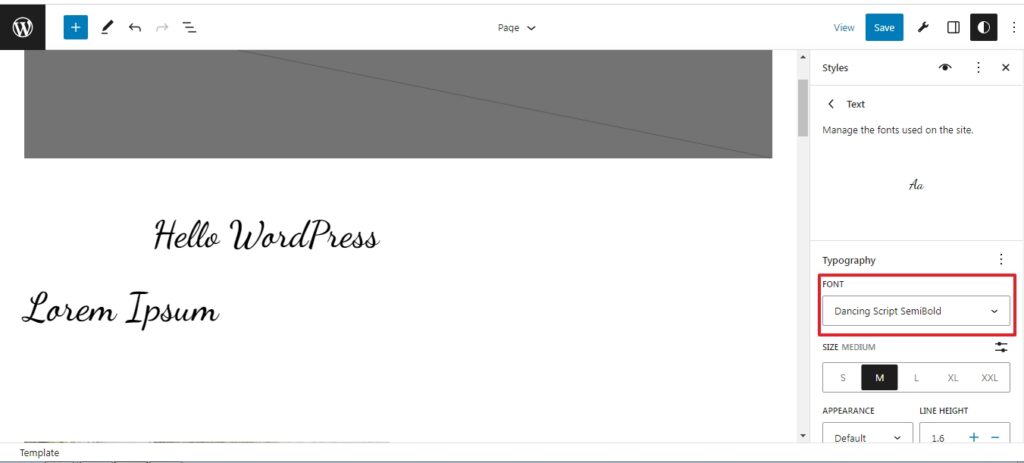
The uploaded font can also be accessed in the block editor and is not just limited to the site editor.
Wrapping Up
We have covered all aspects there is to know when it comes to hosting fonts manually in WordPress, both the manual method as well as with the help of a plugin.